Shijiazhuang Youge Biotechnology Co., Ltd.: Only produces high-quality pesticide products to make farming easier for farmers around the world!
Product Catalog
Abamectin
Emamectin Benzoate
Spinosad
Bacillus thuringiensis
Spirodiclofen
Pyridaben
Etoxazole
Hexythiazox
Bifenazate
Propargite
Amitraz
Lufenuron
Thiamethoxam
Acetamiprid
Imidaclorprid
Nitenpyram
Flonicamid
Dinotefuran
Permethrin
Cypermethrin
Alpha cypermethrin
Beta cypermethrin
Fenvalerate
Lambda-cyhalothrin
Bifenthrin
Beta-cyfluthrin
Deltamethrin
Carbofuran
Carbosulfan
Methomyl
Carbaryl
Oxamyl
Chlorpyrifos
Dimethoate
Malathion
DDVP
Triazophos
Profenofos
Phoxim
Acephate
Fenitrothion
Diazinon
Monosultap
Cartap
Thiocyclam-hydrogen-xalate
Cyromazine
Pyriproxyfen
Tebufenozide
Buprofezin
Pyrethrins
Indoxacarb
Spirotetramat
Chlorfenapyr
Pymetrozine
Fipronil
Metaldehyde
Paraquat
Diquat
Glufosinate-ammonium
Pendimethalin
Tribenuron-methyl
Haloxyfop-R-methyl
Oxyfluorfen
Quizalofop-p-ethyl
Nicosulfuron
Bispyribac-sodium
Penoxsulam
Clodinafop-propargyl
Fenoxaprop-p-ethyl
Trifluralin
Acetochlor
Prometryn
Atrazine
Cyhalofop-butyl
Bensulfuron methyl
Metsulfuron-methyl
Metribuzin
Fomesafen
Dicamba
Diuron
Linuron
Sulfosulfuron
Rimsulfuron
Bentazone
Clethodim
Isoxaflutole
Pretilachlor
Imazamox
2,4-D-ethylhexyl
Butachlor
Thifensulfuron-methyl
Oxadiazon
Picloram
Florasulam
Lactofen
Acifluorfen
Pyrazosulfuron
Pinoxaden
Cloquintocet-mexyl
Mesosulfuron-methyl
Iodosulfuron-methyl
Mefenpyr-diethyl
Imazapyr acid
Triasulfuron
Metolachlor
Isoproturon
Bixlozone
Mesotrione
Azoxystrobin
Tebuconazole
Difenoconazole
Propamocarb
Penconazole
Mancozeb
Pyraclostrobin
Thiophanate methyl
Carbendazim
Chlorothalonil
Hexaconazole
Propineb
Dimethomorph
Propiconazole
Tricyclazole
Metalaxyl-M
Metalaxyl
Hymexazol
Copper oxychloride
Copper hydroxide
Benomyl
Flutriafol
Fosetyl-aluminium
Kresoxim-methyl
Triadimefon
Iprodione
Procymidone
Isoprocarb
Triadimenol
Streptomycin sulfate
Prochloraz
Fludioxonil
Prothioconazole
Boscalid
Thiram
Cymoxanil
DA-6 (Diethyl aminoethyl hexanoate)
6BA (6-Benzylaminopurine)
Gibberellic acid (GA3)
GA4+7
Compound Sodium Nitrophenolate
CPPU (Forchlorfenuron)
NAA (Naphthylacetic Acid)
Triacontanol
Ethephon
IAA (Indole-3-Acetic Acid)
IBA (Indole-3-Butyric Acid)
Brassinolide
DCPTA
Chlormequat
Prohexadione calcium
Paclobutrazol
Cloruro de mepiquat
Thidiazuron
Choline chloride
Uniconazole
S-ABA
Leave your message
From Sowing to Dormancy
- Sowing Period
Sowing usually happens in early to mid-October. Prepare the field carefully before planting and apply soil treatments, as underground pests are most active at this stage. In high-risk areas, mix 0.3 kg of 40% phoxim EC or methyl isofenphos EC with 25 kg of fine soil. Spread it evenly on the field, then plow it under. This will help keep underground pests under control. - Seedling Stage
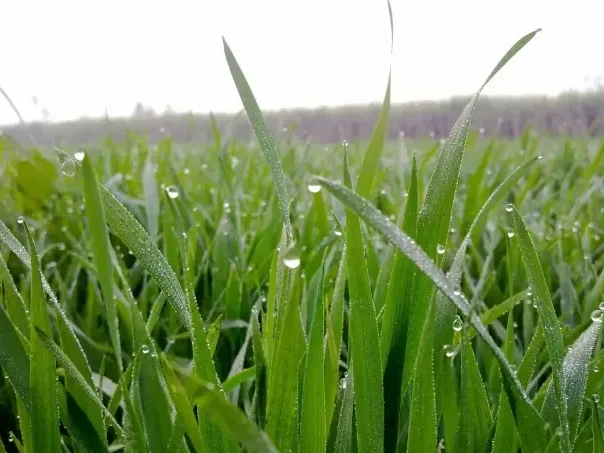
The first leaf appears about 2 cm above the soil in early to mid-October. Check seedlings immediately and replant if necessary. If the soil is dry, use light watering or drip irrigation. Avoid flooding the field, as it can harm the young plants. - Tillering Stage
Tillering begins when the first tiller grows 1.5-2 cm from the leaf sheath, typically in late October. This is the time to monitor for common diseases and pests—rust, powdery mildew, sheath blight, and aphids, among others. If earlier treatments didn’t work, spray the field with 100g of 15% triadimefon WP, 50g of 12.5% diniconazole WP, or 20mL of 25% propiconazole EC per acre, diluted in 30 kg of water. - Dormancy Period
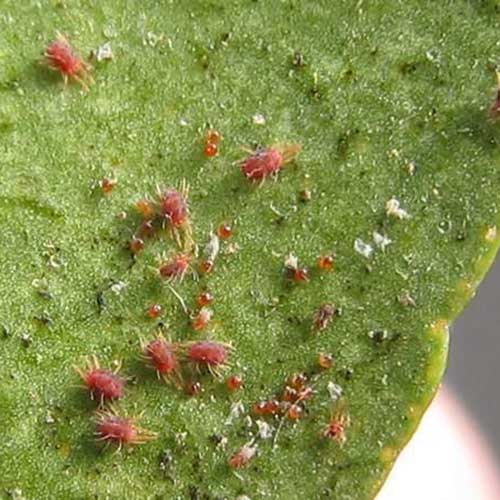
In late November or early December, when the temperature drops to 2°C, wheat growth slows and enters dormancy. Usually, pests are not an issue in this period. However, in warmer winters or southern regions, keep an eye out for red spider mites. If needed, spray with a 4000x dilution of 1.8% abamectin EC.
From Green-Up to Jointing
- Green-Up Stage
In late February to early March, new green leaves begin to appear. Control excess tillering, provide enough water, and apply nitrogen fertilizer at this stage. Fields with fewer than 450,000 tillers per acre should avoid early irrigation unless the soil is dry. Once green-up starts, if soil moisture is below 60%, irrigate the field and apply 6-8 kg of urea per acre. - Stem Elongation
Mid-March marks the beginning of stem elongation. Wheat starts to grow upright, with the first leaf and leaf sheath extending. - Jointing Stage
By early to mid-April, the first internode appears. This phase combines vegetative and reproductive growth, so ensure the plants get enough water. Manage the field carefully to prevent lodging, waterlogging, and drought.
From Booting to Maturity
- Booting Stage
In late April, the last leaf emerges fully, signaling the booting stage. This phase is critical for grain formation. Ensure adequate water and nutrients to maximize flowering and grain filling. Irrigate, apply foliar fertilizers, control weeds, and prevent early leaf aging. - Heading Stage
In late April to early May, the spike begins to emerge. - Flowering Stage
The flowering stage begins in early to mid-May. This is a brief but essential phase as the plants shift fully to reproductive growth. - Grain Filling Stage
Grain filling starts in mid-May. Keep the soil moisture steady by irrigating lightly 10 and 20 days after flowering. Avoid overwatering in the final stages, as excess water can lead to nutrient buildup in the stems, reducing grain quality. - Maturity Stage
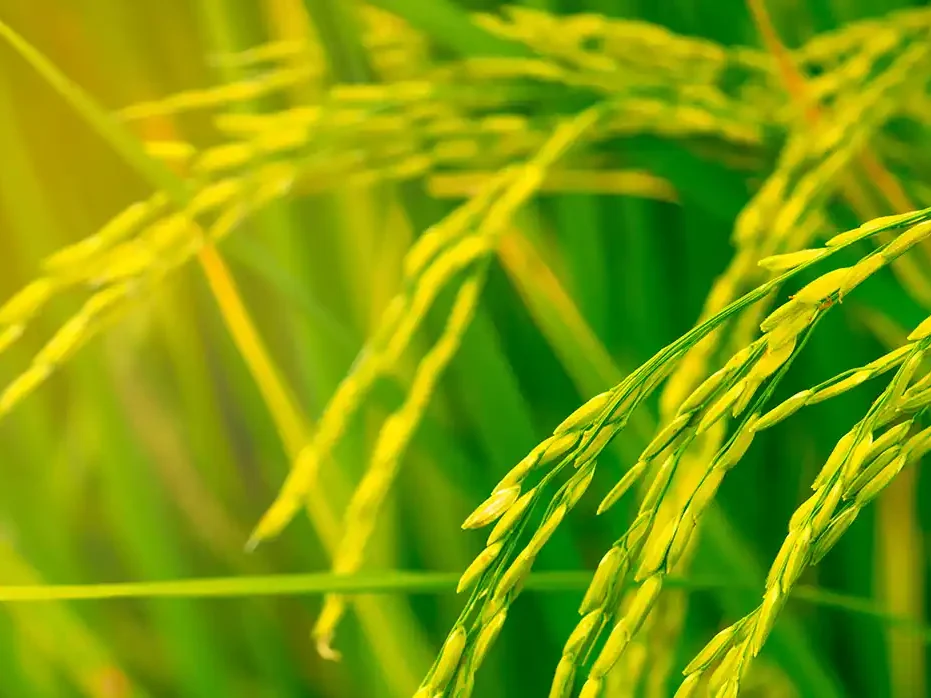
When wheat grains reach full size and the color looks right, they are ready for harvest. Cut the crop promptly to ensure quality and maximum yield.
Using these practical steps, you can better manage each stage, control pests, and boost wheat growth for a successful harvest.


